A quick step by step on all the fabrication for this box
Laser Cutting
Once I had all the files ready, I laser cut the various layers of the box with 1/8th plywood.
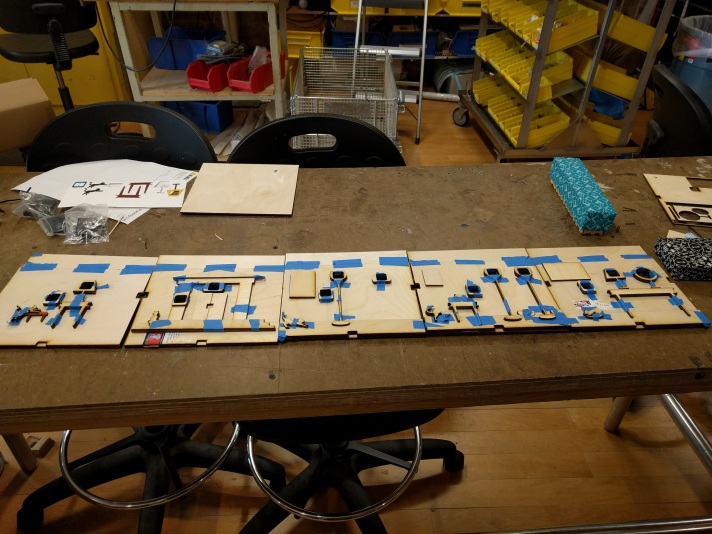
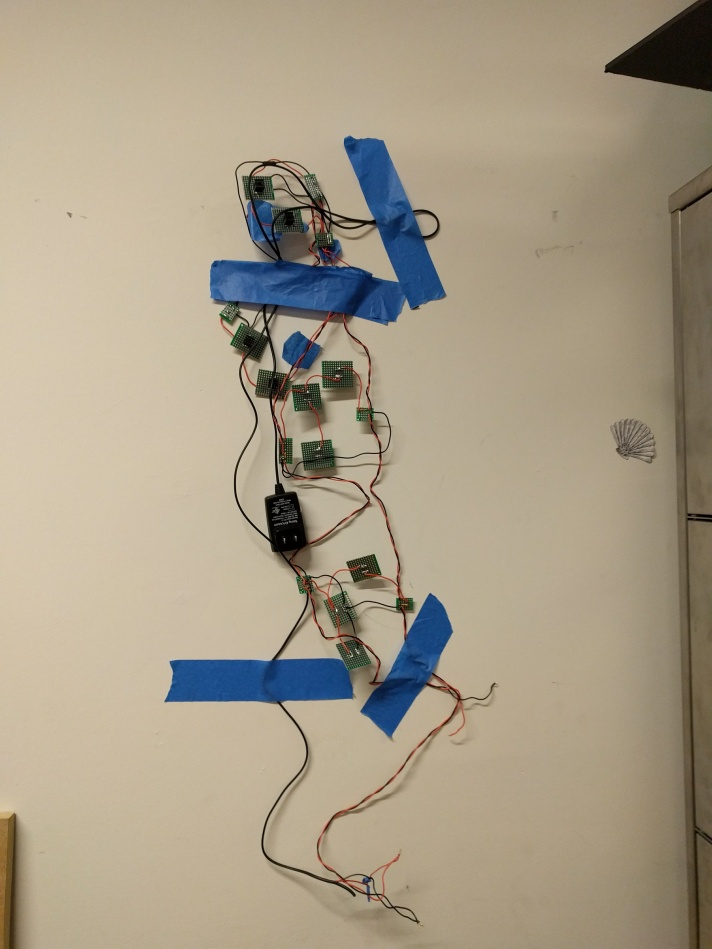
Circuits
Next I soldered the circuits to go inside the book. At some point later, I realised I needed them out of the book, so there’s the entire circuit on the wall.
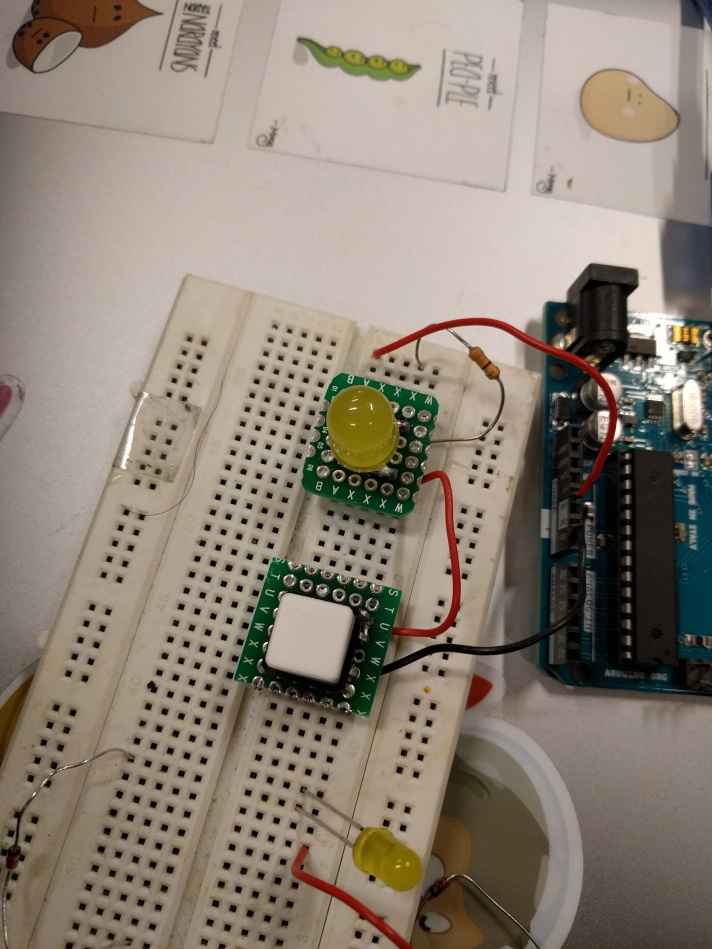
Light and Button Modules
This involved soldering individual pieces as well as 3d printing the modules that hold them

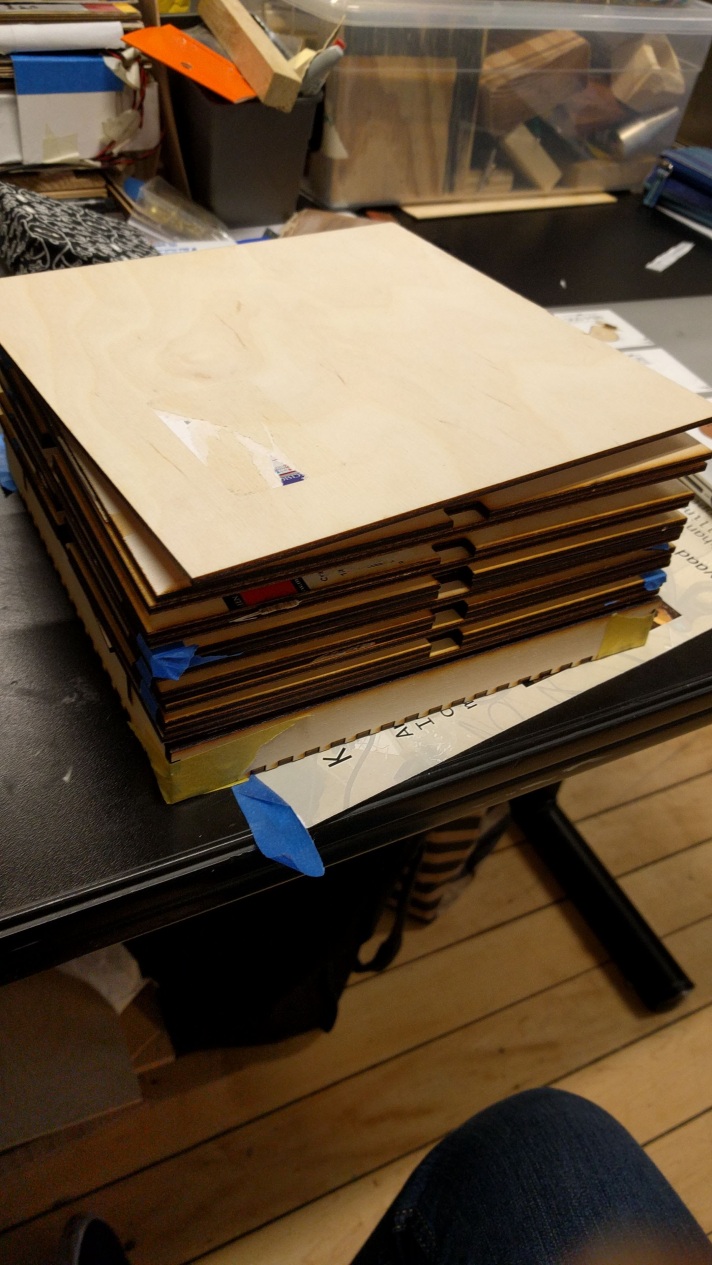
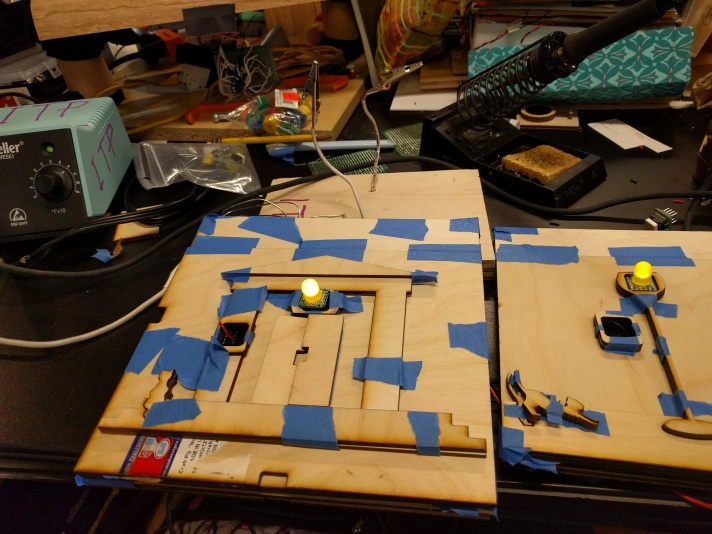
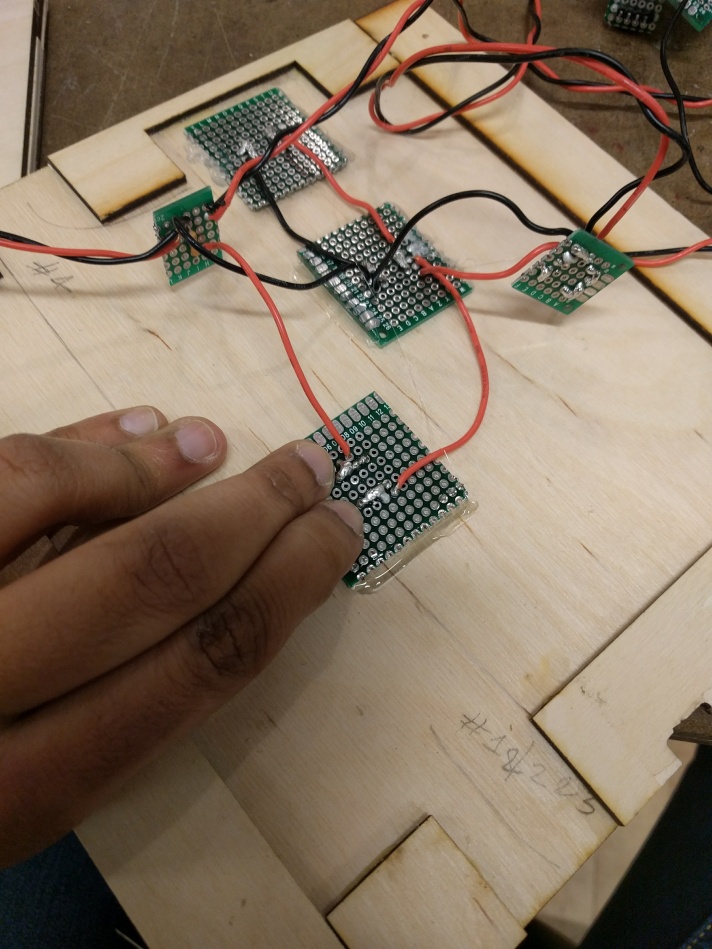
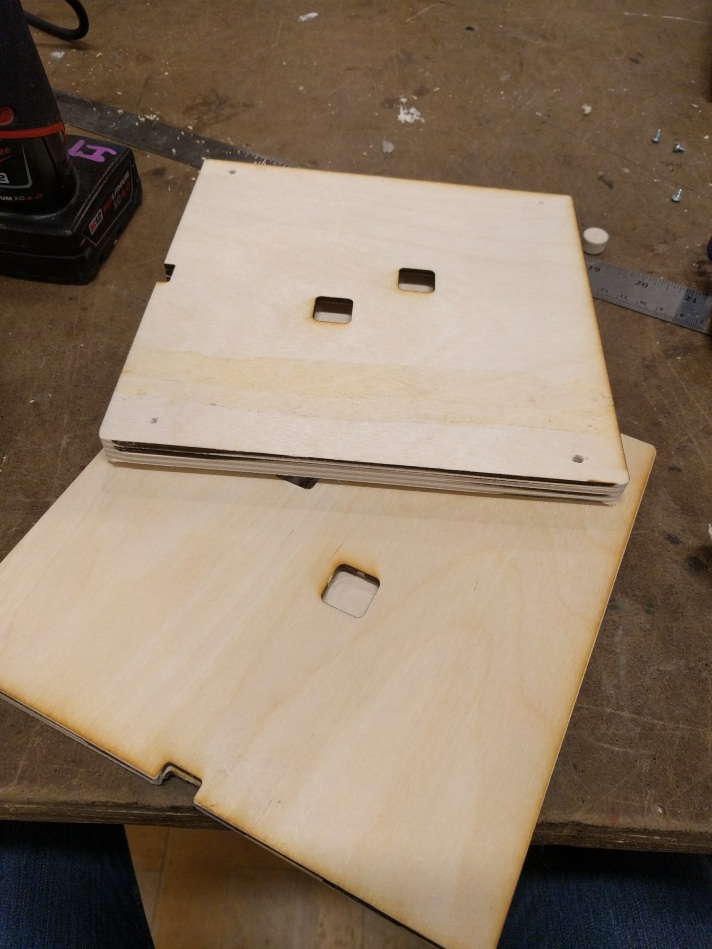
Making a page enclosure
Each page needed to be it’s own enclosure. This was mainly to hide the circuits to ensure there are no exposed wires. Each page had 3 layers which were sanded and screwed together.
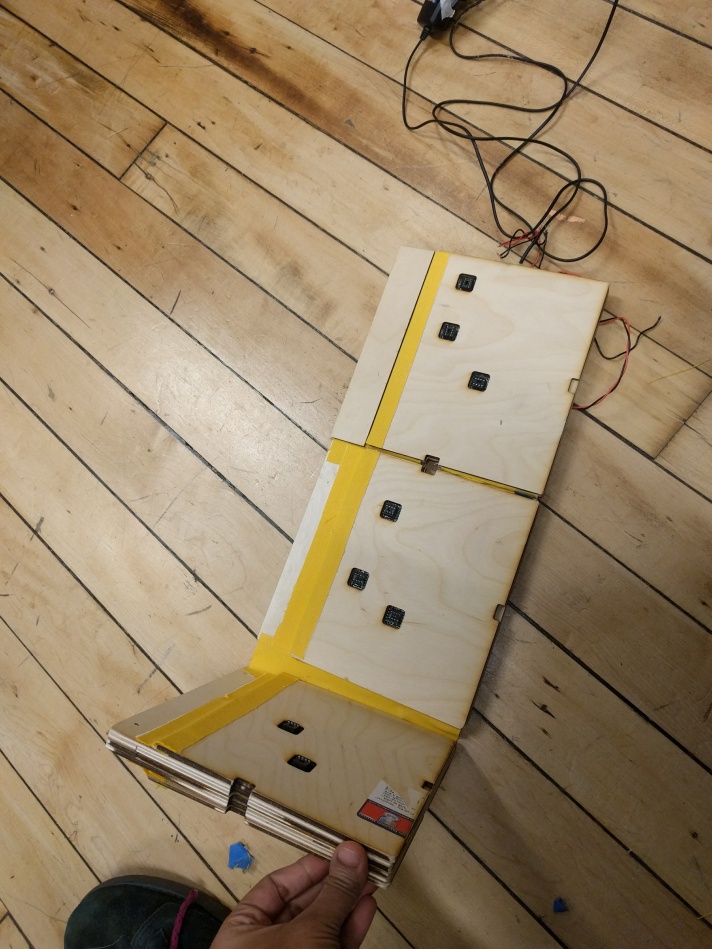
Fabric Hinging
After testing with metal and fabric hinges I had decided on fabric hinges. So, after my yellow canvas arrived, I began binding the entire book. 
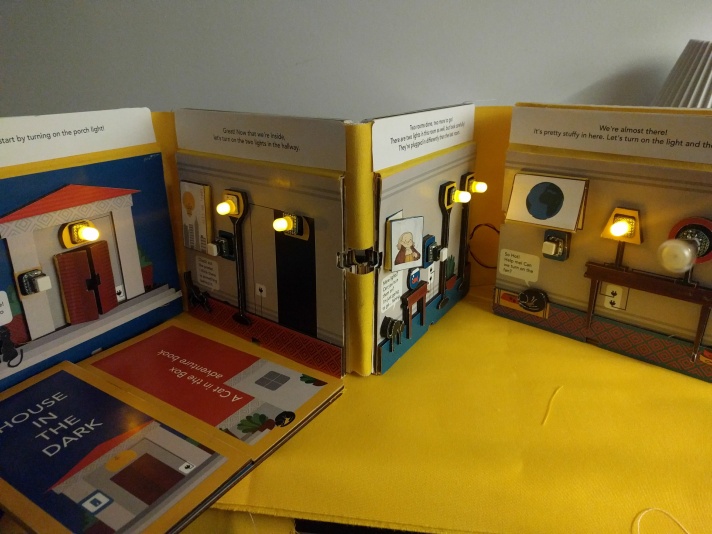
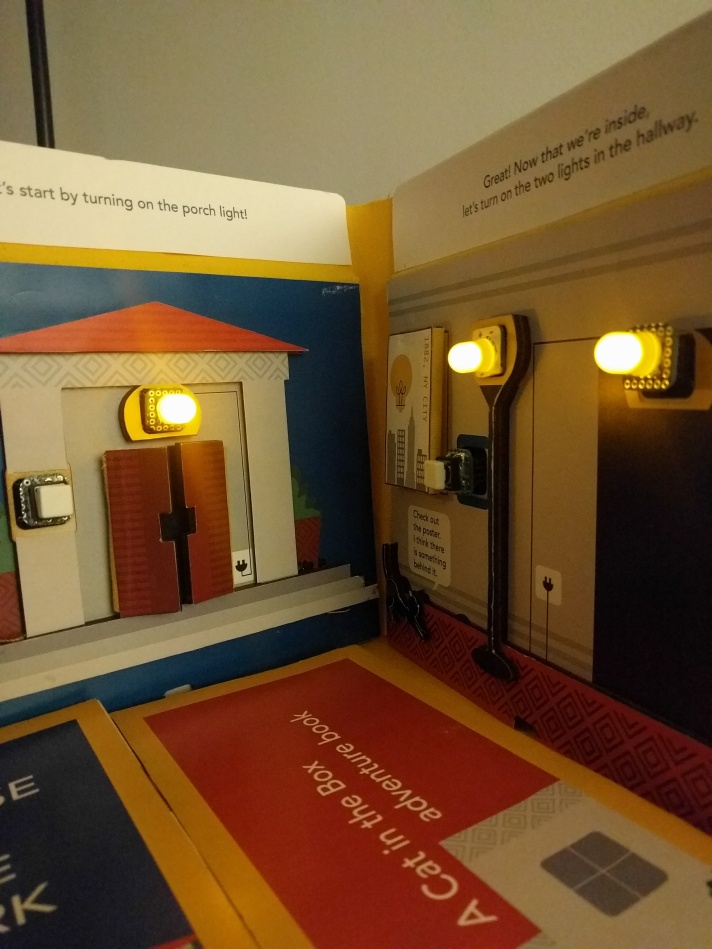
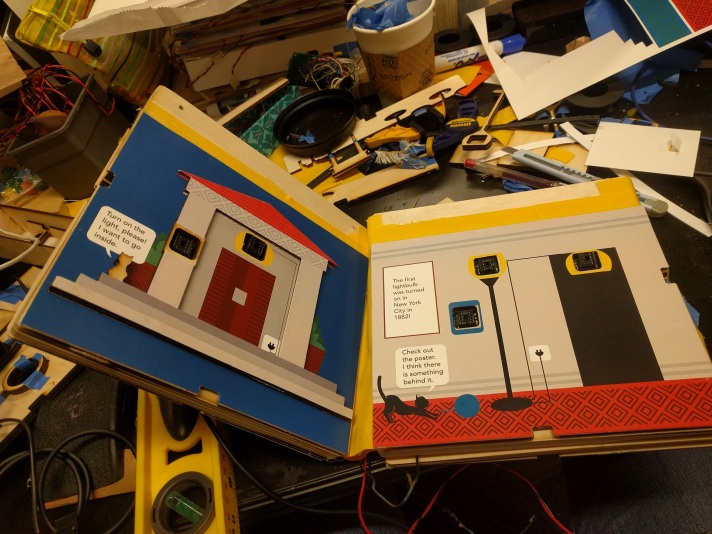
Sticking the content
Since I couldn’t find sticker paper which I liked, I ended up getting some nice print outs and sticking the content to the wood with spray on glue. ( I thought this would be the fun part, I was so wrong)
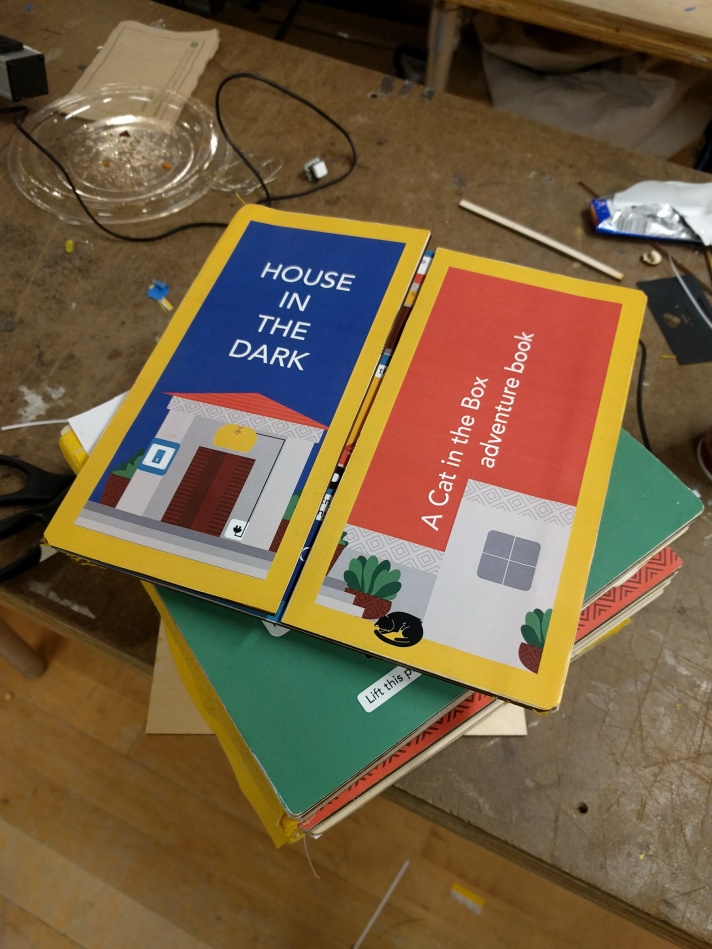
Almost Done!
This is the current state of the book, I have some more fabrication that is incomplete. Additionally, there are small details I want to add, but this is it for today!